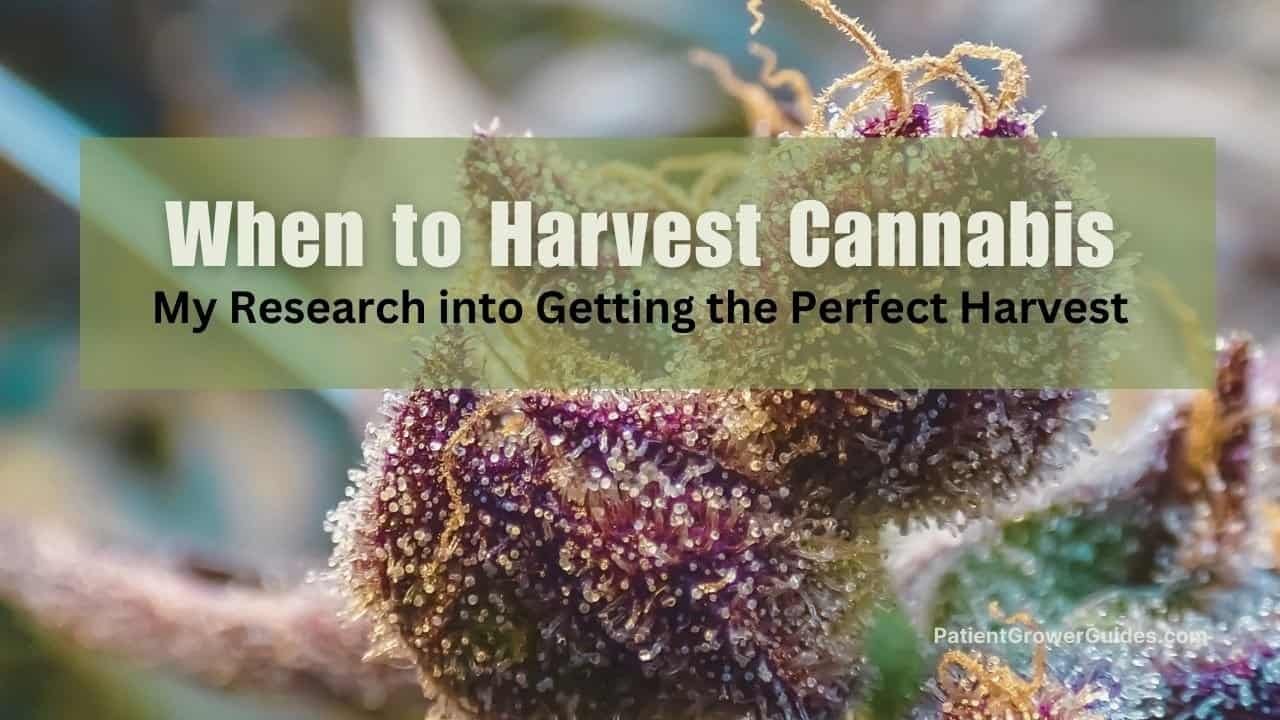
Knowing When to Harvest Cannabis: My Research into Getting the Perfect Harvest
Alright, we’re here. After weeks, maybe even months, of nurturing this plant from a tiny seed, we’ve finally made it to the goal line. It’s the moment we’ve been waiting for, and it’s exciting. But if you’re anything like me, a complete beginner, it’s also a little terrifying. All this work, and now we have to make the single most important decision of the entire grow. The fear of messing it up is real.
When I started this whole project, I pictured a simple calendar with a big red circle that told me exactly when my plants are ready to harvest. But my research quickly showed me it’s more of an art than a strict science. I’ve spent dozens of hours sifting through confusing forums and grower guides to decode the signals our plants send us. This article is my research notebook, organized to save you the headache and help you figure out when to harvest cannabis.
Together, we’ll go through my findings, moving past the vague timeline on the seed packet to learn how to read our plant’s own visual language. We’ll cover the main clues like changing pistils and, most importantly, the frosty trichomes that hold the key to the perfect harvest time for your specific needs.
Table of Contents
First, A Reality Check on The Breeder’s Timeline
When you’re trying to figure out harvest time, the first place you’ll probably look is the information that came with your seeds. It seems like the most logical starting point, and in a way, it is. But it’s also where the confusion can begin.
What the Seed Packet Tells You
Every cannabis strain you buy will come with an “estimated flowering time” from the breeder, usually listed in a range of weeks, like “8-10 weeks of flowering.” This number is the breeder’s best guess for how long it takes that specific cannabis strain to go from the first signs of buds to the potential harvest day. Think of it as the “manufacturer’s suggestion” – a helpful starting point that gives you a general window to begin paying very close attention to your cannabis plant.
Why This is Just a Guideline, Not a Rule
Now for the reality check. I almost circled a date on my calendar based on the breeder’s 9-week estimate, but my research quickly showed me that this is a classic rookie mistake. That timeline is based on a perfectly dialed-in, ideal growing environment, which most of us, especially on our first run, do not have.
Our plants are living things, not Ikea furniture; they don’t always follow the instructions perfectly. Several factors can speed up or slow down your plant’s journey to the final harvest:
- Your specific setup: The type and intensity of your lights.
- Nutrients: How much and how often you feed your plant.
- Environment: The temperature and humidity in your grow space.
- Genetics: Even seeds from the same pack can have slight variations, called phenotypes. Just like human siblings, they can grow a bit differently and mature on their own schedule.
So, while the breeder’s timeline is great for getting you in the ballpark, it’s not the signal you should use to decide when to chop. For that, we need to learn how to read the plant itself.
Reading the Plant: The Two Main Clues for Harvest Time
So, if we can’t just trust the calendar on the seed packet, how do we know when it’s the right time to harvest? This is where the fun part of my research began. It turns out the cannabis plant gives us two major visual clues to let us know it’s getting close. Think of them as the plant’s way of saying, “I’m almost ready!”
Clue #1: The Pistils are Changing Color
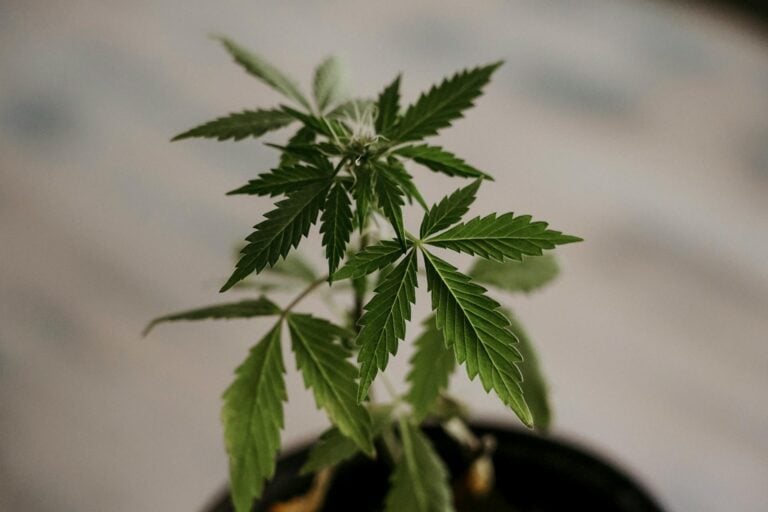
Remember those little white hairs that started popping out when your plant first began to show its sex and form buds? Those are called pistils. When the cannabis flower is young and immature, these pistils are typically bright white and stick straight out, hoping to catch pollen from a male plant (which hopefully isn’t anywhere near your grow space).
As the flower matures and ripens, these white pistils will start to change. They’ll stop growing straight out and begin to curl inward and darken, shifting in color to orange, amber, or brown.
This color change is your first major indicator that the harvest window is opening. The general rule of thumb I kept seeing in my research is that when at least 50-70% of the pistils on your buds have darkened and curled in, it’s time to stop guessing and start investigating. This isn’t the final signal to chop, but it’s the plant’s way of telling you to grab your magnifying glass.
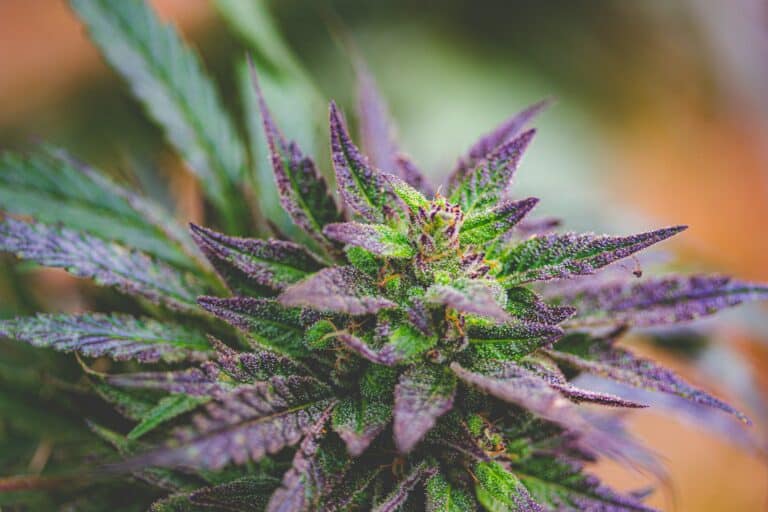
Clue #2: Trichomes are the Real Telltale Sign
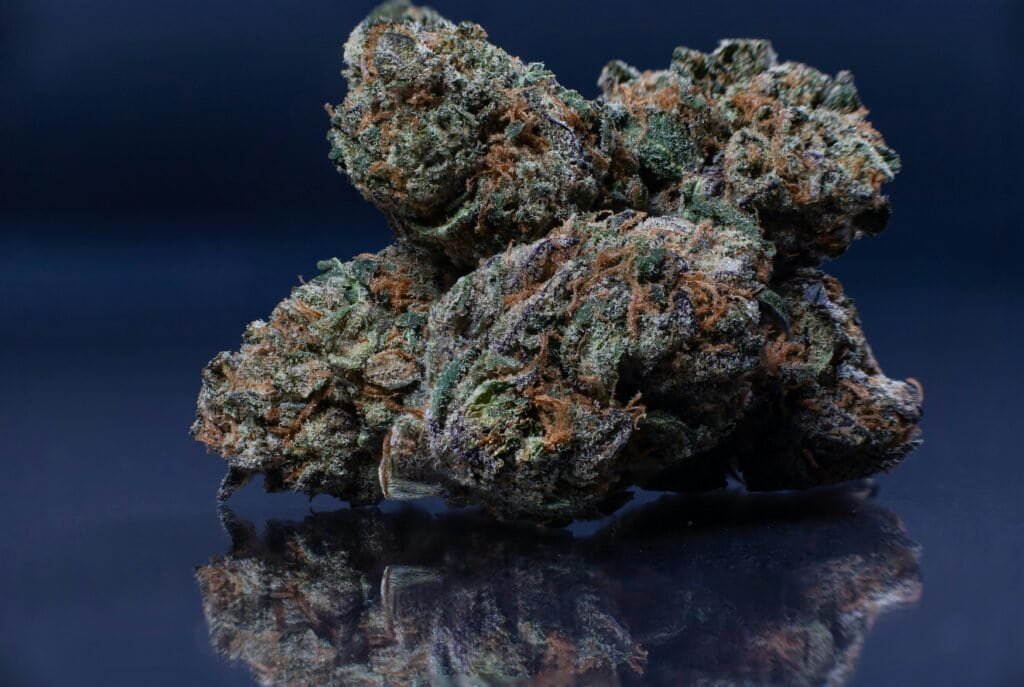
This next part was the biggest “aha!” moment for me. You know that frosty, sugary, or crystalline coating that makes high-quality cannabis buds look so appealing? That magical frost is actually a dense field of microscopic glands called trichomes.
These aren’t just for looks. The trichomes are tiny factories where the plant produces and stores the good stuff we’re after: cannabinoids (like THC and CBD) and terpenes (the aromatic compounds responsible for the plant’s smell and taste). The condition of these trichomes on the buds is the single most accurate indicator of a plant’s peak ripeness and the effects its medicine will have. While the pistil gives you a hint, the trichome gives you the proof. Learning to read them is the difference between an okay harvest and a perfect one.
Key Takeaway Box Pistils are the hint, trichomes are the proof. While darkening pistils tell you that you’ve entered the harvest window, the color of the trichomes tells you exactly when to harvest for your desired medicinal effects.
The Gold Standard: Using Trichome Color to Pinpoint Your Harvest
Okay, so we’ve established that the trichomes are the key. But there’s a small problem: they are microscopic. If you just stare at your bud, all you’ll see is a general frostiness. To do this right, you have to get up close and personal.
Getting Up Close: The Tools You’ll Actually Need
My first thought when I learned this was, “Great, another expensive piece of equipment I have to buy.” But I was happy to find out that the tools for this are actually really cheap. You can’t use a standard magnifying glass, but you have a few great options:
- Jeweler’s Loupe: This was the tool I saw recommended everywhere, and for good reason. It’s a small, powerful, portable magnifying glass you can get for under $20 online. My research suggests a magnification between 30x and 60x is perfect for the job.
- Digital Microscope: For a little more money, you can get a small digital microscope that connects to your phone or computer. The huge advantage here is that you can take pictures or videos of the trichomes. This is amazing for tracking their progress day-by-day instead of relying on memory.
- Phone Macro Lens: Some of the newer smartphones have incredible macro (super close-up) cameras that might be good enough to get a decent view. It’s worth a shot, but a dedicated loupe is more reliable.
Honestly, the loupe seems like a no-brainer. I had no idea what a ‘loupe’ even was before this, but it turns out it’s the most important sub-$20 tool for the entire harvest process. It’s the only way to properly look at the trichomes and know for sure when your plant is ready.
Clear Trichomes = Not Yet! Hold Your Horses
When you first look at your trichomes through your loupe, you’ll probably see that they look like tiny mushrooms made of glass or water. They will be perfectly transparent and clear.
This is the plant in the middle of its production cycle. The cannabinoid factory is running, but the THC content is still low. If you harvest too early while the trichomes are all clear, you’ll be cheating yourself out of potency. The resulting effect is often described as weak and can even be a bit jittery or anxiety-inducing. If you see clear trichomes, the message is simple: be patient. It’s not ready yet.
Cloudy / Milky Trichomes = The Harvest Window is Wide Open
Over time, you will see a magical shift. Those clear, glassy trichome heads will begin to turn a translucent white, often described as “cloudy” or “milky.” They’ll look less like glass and more like frosted plastic.
This is the moment you’ve been waiting for. When the trichomes become cloudy, it’s a sign that the THC content has reached its absolute peak. The plant is at its maximum potency. For many growers, the ideal time to harvest cannabis is when the vast majority of the trichomes have turned cloudy. Harvesting now will typically result in the most energetic, potent, and cerebral or “head high” effects.
Amber Trichomes = Aiming for Peak Relaxation
If you wait past the peak cloudy stage, you’ll notice another color change. Some of the milky trichome heads will begin to darken into a deep, rich amber or golden-brown color.
This is not a sign that your buds are going bad! It’s a natural chemical process. At this stage, the THC is beginning to break down and convert into a different cannabinoid called CBN. While THC is known for its psychoactive effects, CBN is known for being highly sedative and relaxing.
The more amber trichomes you have, the more calming, sleepy, and “couch-lock” the effects will be. This is often the target for people growing indica strains, for those who use cannabis to help with sleep, or for patients seeking a potent body-numbing effect. It all comes down to personal preference.
What’s Your Perfect Harvest Moment? Tailoring the Harvest to Your Needs
So, we’ve got the breakdown: clear means wait, cloudy means energetic, and amber means relaxing. The big question now is, which one is the “best”? The coolest part of my research was discovering that there is no single “best” time to harvest. The perfect harvest moment is entirely up to you and the specific medicinal effects you want.
Deciding on Your Desired Medicinal Effect
This is where growing your own medicine becomes truly empowering. Unlike what you get from a dispensary, you have direct control over the outcome. By choosing when to time your harvest, you can customize your cannabis to better suit your needs.
Based on everything I’ve read, here’s a simple breakdown:
- For an Energetic, Daytime Effect: If you want a more cerebral, creative, and uplifting experience (often associated with Sativa strains), you should harvest when nearly all the trichomes are cloudy and you see very few, if any, amber ones.
- For a Relaxing, Calming Effect: If you’re like me and are more interested in cannabis for calming effects, anti-anxiety, or help with sleep, you’ll want to let the plant mature a bit longer. Waiting until you see a significant percentage of amber trichomes – say, 20% to 40% – will give you that more sedative, body-focused experience.
This was a major lightbulb moment for me. As a veteran, my primary goal is to grow medicine that helps with relaxation and sleep. So, based on my research, my personal plan is to wait until I see a good ratio of amber trichomes on the buds. This ability to customize is something I never even thought about before starting this journey.
A Common Recipe for a Balanced Effect
Okay, but what if you’re not sure what you want yet? Or what if you want the best of both worlds? My research kept pointing to a classic starting point that’s perfect for your first harvest.
The most common recommendation for a potent yet balanced effect is to harvest when the trichomes are roughly 70% cloudy and 30% amber.
This recipe is considered the sweet spot by many growers because it captures the plant at its peak THC (from the cloudy trichomes) while also incorporating the relaxing, anti-anxiety body effects from the CBN (in the amber trichomes). It delivers a powerful but well-rounded experience that’s not too racy and not too sleepy. If you’re in doubt, this 70/30 split is a fantastic and reliable target for your first time.
Pre-Harvest Rituals: My Research into What Comes Next
So, you’ve got your loupe, you’re watching your trichomes like a hawk, and you’ve picked your perfect cloudy-to-amber ratio. The excitement is building! But is it as simple as just grabbing the scissors on the right day? As I dug deeper, I found that many growers have specific rituals they perform in the final week or two before harvest. The most talked-about, and most debated, is a process called “flushing.”
The Great Flushing Debate
You can’t spend five minutes on a growing forum without reading about flushing. The basic idea is that for the last one to two weeks before you plan to harvest, you stop giving your plant any nutrients. Instead, you only give it plain, pH-balanced water.
The theory behind this is that it “flushes” out any leftover mineral salts and nutrients from the soil and, in turn, from the plant itself. Growers who swear by this practice claim it forces the plant to use up its stored reserves, resulting in a much smoother, cleaner, and better-tasting final product. They say it’s the key to avoiding a harsh, chemical taste in your flower.
But here’s the thing I discovered: this is one of the most hotly debated topics in cannabis cultivation. For every seasoned grower who says flushing is absolutely essential, there’s another who calls it “bro science” and points to modern studies that suggest it makes little to no difference. The anti-flushing crowd argues that a proper drying and curing process is what truly creates a smooth final product, not starving the plant at the end of its life.
As a beginner, trying to decide who is right felt impossible. Since the experts are completely divided, my game plan is to keep it simple on the first run. I’m not going to stress about a long, complicated flushing schedule. Getting the harvest timing, drying, and curing right seems far more important. It feels like a variable I can experiment with on future grows rather than something to worry about now.
Answering Your Top Questions (FAQ)
Even after figuring out the main process, I still had a ton of smaller questions. I dug through forums and guides to find the answers to the most common ones that beginners (like me) ask.
How do you know when a bud is ready for harvest?
Let’s do a quick recap of the core lesson. The best way to know is to ignore the calendar and read your plant.
First, watch the pistils (the “hairs”) on your buds. When about 50-70% of them have darkened from white to orange/brown, you’re in the harvest window.
Then, use a jeweler’s loupe (60x is great) to look at the trichomes (the “frosty crystals”).
The color of the trichomes is your final guide: harvest based on the ratio of cloudy (energetic) to amber (calming) trichomes that matches your desired effect.
What is the best time of day to harvest cannabis?
This is a popular question, and there’s a strong opinion among many seasoned growers.
The most common advice is to harvest your plant right before the lights are scheduled to turn on for the day (for indoor grows) or right at dawn (for outdoor grows).
The theory is that the plant spends the dark period producing terpenes (which create aroma and flavor) and then these terpenes begin to slowly degrade under intense light and heat.
Harvesting in the cool dark is thought to preserve the maximum terpene profile, giving you the most aromatic and flavorful medicine possible.
Can you harvest your plant in stages?
Yes, you absolutely can! This is called a progressive or staggered harvest. You might notice that the top buds of your plant, which get the most direct light, mature faster than the lower buds that are more shaded.
It’s a very common and effective technique to harvest the ripe top colas first, and then leave the lower, less-mature buds on the plant for another week or so. This gives them more light and energy to fatten up and fully ripen, maximizing your total yield from a single plant.
What happens if I harvest too late?
While harvesting too early is generally the bigger mistake, it is possible to harvest too late. It’s not a catastrophe, but it will significantly change the final effect of your flower.
As you wait longer, more and more of the THC in the trichomes converts to the cannabinoid CBN. This means a very late harvest, where most trichomes are dark amber, will result in a much less psychoactive “high” and a much more lethargic, sleepy, “couch-lock” effect.
For some, this is desirable, but for most, it’s past the ideal window. Additionally, overly ripe buds can be more susceptible to problems like bud rot, especially if your humidity is high.
Whew, that was a lot of information. When I first started looking into this, the idea of pinpointing the perfect harvest day felt incredibly complex and intimidating. But after all this research, it feels a lot simpler and much more scientific than I thought. It all boils down to learning to ignore the calendar and listen to the plant.
The key takeaway for me, and hopefully for you, is this: get a cheap jeweler’s loupe. It is the single most important tool for this job. Once you see that about half of the plant’s pistils have darkened, start your daily trichome check. From there, you are in complete control – you get to be the chef, deciding on the exact recipe of effects you want from your medicine.
Now that we’ve figured out when to harvest, the research continues into the next critical phase of the cannabis life cycle: the proper way to chop, hang, dry, and begin curing your buds. From what I’ve read, this stage is just as important as the grow itself for determining the final quality, so I’ll be diving into that topic next. Stay tuned for that guide!