The Cannabis Seedling Stage: A Beginner’s Guide to Surviving the First 3 Weeks
As I’m planning my first grow, I keep coming back to the cannabis seedling stage. There’s just something about how tiny and fragile a new sprout seems that is a definite source of anxiety. It feels like a high-stakes first step where one wrong move could end the whole project before it really begins.
So, what’s a guy to do with all that nervous energy? Channel it into weeks of obsessive research, of course. Since I haven’t planted my first cannabis seed yet, I’ve been diving headfirst into every forum, guide, and video I can find about the cannabis seedling stage.
This guide is the result of that research. It’s my personal game plan for nurturing a brand-new cannabis plant from a fragile sprout into a hardy, thriving plant. Think of it as every tip, warning, and “ah-ha!” moment I’ve gathered, all organized in one place so we can get through these critical first few weeks together.
Of course, this all assumes you’ve successfully completed the germination stage. If you’re still figuring out the best way to get that cannabis seed to pop, you can check out the full germination plan I put together here: How to Germinate Cannabis Seeds: 3 Easy Methods for Beginners
Table of Contents
What Exactly Is the Cannabis Seedling Stage?
Before we dive into my game plan for care and feeding, let’s get on the same page about what this stage even is. Based on my research, the seedling stage is the very beginning of your plant’s life, kicking off the moment it breaks out of its shell after germination and pushes through the soil. It’s the plant’s infancy, where it’s most vulnerable.
From Cotyledon to True Leaves: What I’ve Learned to Look For
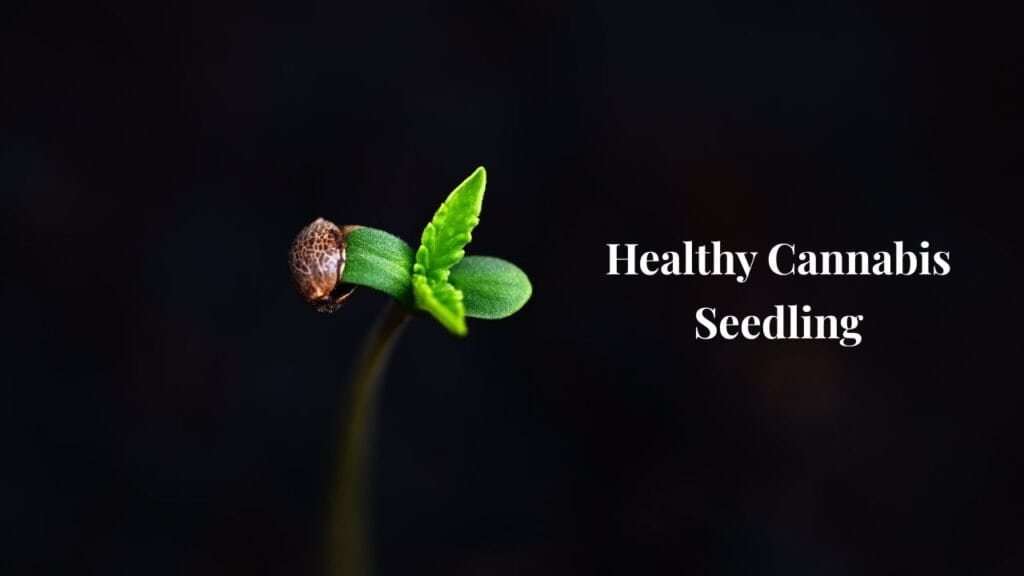
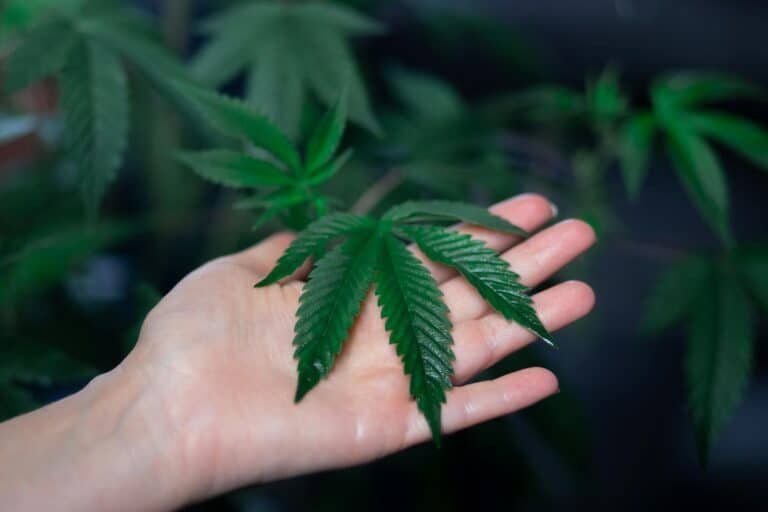
When your cannabis seedling first emerges, it won’t have those classic cannabis leaves you see on t-shirts. Instead, you’ll see a tiny stem pushing up a pair of small, round leaves.
I’ll admit, this was one of the first things I had to look up. I was surprised to learn that these first little leaves aren’t “real” cannabis leaves at all. They’re called cotyledons. Think of them as a packed lunch for the seedling; they come pre-loaded with all the food the sprout needs to get started before its root system is established enough to take over.
The real magic happens shortly after, when the first set of true leaves begins to grow from the center of the cotyledons. These are the ones you’ll recognize, with their iconic serrated edges. Once you see these, your cannabis seedling is officially off to the races.
How Long Does the Cannabis Seedling Stage Supposedly Last?
This is the million-dollar question, isn’t it? From everything I’ve read, the cannabis seedling stage is a short but critical window, typically lasting about two to three weeks. This is why the title of this guide focuses on surviving that initial period.
The seedling stage is considered over once the plant has developed several sets of true leaves and starts to look less like a fragile sprout and more like a miniature cannabis plant. At that point, it officially graduates and enters the vegetative stage, which is all about rapid growth.
My Planned Setup: The Beginner-Friendly Seedling Environment
Okay, this is where the planning gets real. Creating the right environment seems to be 90% of the battle during the seedling stage. My goal isn’t to build a high-tech lab, but to nail the simple basics that give a young, healthy cannabis seedling the best possible start. Here’s the breakdown of the environment I’m planning for my grow space.
My Lighting Plan: What Seedlings Need (Without a Pro Budget)
When I started building my initial shopping list, the cost of some LED grow lights was a huge shock. I saw units costing hundreds, even thousands, of dollars. It was intimidating. So, I spent a ton of time digging through forums to find out what’s essential versus what’s overkill for a beginner with just a few plants.
The overwhelming consensus for the light cycle is 18 hours of light on and 6 hours off. This gives the seedling plenty of light to fuel its growth but also a “rest” period, which is apparently important for root development.
While those professional lights are amazing, they’re not necessary for this early stage. The plan for my seedlings is to use simple, affordable full-spectrum LED bulbs or even a small, entry-level LED panel designed for seedlings. The key is to provide enough light without scorching the delicate plant.
Temperature and Humidity: The Sweet Spot I’m Aiming For
Getting the temperature and humidity right seems critical. A young seedling with a tiny root system absorbs a lot of moisture through its leaves, so a humid environment is key. The sweet spot I’m targeting, based on multiple sources, is:
- Temperature: 70−80∘F (21−27∘C)
- Relative Humidity (RH): 65−75%
I’ve seen tons of complex humidifiers and controllers online, but my plan is to keep it simple. For the first week or so, I’ll be using a DIY humidity dome. It’s exactly what it sounds like: a clear plastic cup or the top half of a plastic bottle, misted with a little water and placed over the seedling. It’s a cheap and effective way to maintain that high humidity a young plant loves.
Airflow: The Plan for Building Strong Stems
This was a tip I saw over and over again. Gentle air circulation in the grow space does two things: it prevents stale, moist air from causing problems like mold, and it causes the seedling’s stem to wiggle slightly. This tiny bit of stress actually helps it grow stronger and sturdier.
The plan isn’t to blast the seedling with a fan like it’s in a hurricane. I’ll just have a small clip-on fan running on low, pointed at a wall of the grow space to create gentle, indirect airflow. The goal is to see the leaves trembling just slightly, not getting whipped around.
My Game Plan for Watering & Feeding (AKA How I Plan to Not Kill My Seedling)
If my research has taught me anything, it’s that this is the step where most beginners go wrong. It seems counterintuitive, but too much kindness- in the form of water and nutrients – can actually kill a young plant. This section is basically a set of strict rules I’m writing for my future self to follow to ensure healthy growth.
My Watering Strategy: How I’ll Approach It
I’m just going to say it: I know my first instinct will be to overwater. I’ll see the little plant and think, “It must be thirsty!” Every single beginner guide I’ve read screams, “Don’t do it!” So, I’m setting a firm rule for myself right now: I will not water until the soil is dry.
The plan is to avoid a strict schedule (like watering every Tuesday) and instead check the plant daily. I’ll use two methods I’ve seen recommended everywhere:
- The Weight Test: I’ll get used to how heavy the container feels right after a watering and then how light it feels when it’s dry. I’ll only water when it feels light.
- The Knuckle Test: I’ll stick my finger into the soil up to my first knuckle. If I feel moisture, I will back away from the watering can and wait another day.
Overwatering suffocates the new root system and is apparently the #1 rookie mistake. This is one rule I am determined not to break.
The Big Question: Will I Use Nutrients for My Seedlings?
This was another area of confusion, but the answer I found is refreshingly simple: No. For the first one to two weeks, a cannabis seedling does not need any added nutrients.
Remember those little round cotyledon leaves? They are packed with enough food to get things started. On top of that, a good quality starting soil (which is my plan) has enough nutrients to support the plant for the first few weeks of its life. Adding more nutrient solution at this stage can cause “nutrient burn,” which can scorch and kill a fragile seedling.
My plan is to only start thinking about adding a very diluted nutrient mix (like 1/4 of the recommended strength) once the seedling has at least two or three sets of true leaves and looks strong and established.
Key Takeaway: My Seedling Survival Rules
- Watering Rule: Water only when the soil is dry. Check the weight or use your finger. No fixed schedules!
- Nutrient Rule: No added nutrients for at least the first two weeks. Let the plant use its packed lunch and the food in the soil first.
Common Problems I’m Mentally Preparing For
Part of my research wasn’t just learning how to do things right, but also learning what things look like when they’re going wrong. By knowing what problems to look for, my hope is that I can catch them early before they ruin the whole project. Here are the two biggest issues I’ll be keeping an eye on with my young plants.
“Stretching”: The First Problem I’ll Be Watching For
This one seems to be super common for new growers. “Stretching” is when the seedling grows very tall, very quickly, with a long, thin, and pale stem. It might look like impressive growth at first, but it’s actually a sign of weakness.
Stretching happens when the seedling isn’t getting enough light. It’s desperately reaching upwards trying to find a stronger light source. This leads to a weak stem that might not be able to support the plant as it gets bigger.
I’ve seen so many pictures of this online, and it’s a top concern. My game plan is to follow the light manufacturer’s recommendation for seedling distance and watch the plant closely every day. If I see big gaps forming between the sets of leaves and the stem looks lanky, I’ll know I need to lower the light an inch or two to give the plant the intensity it needs for healthy growth.
What I’ve Learned About Yellow Leaves
Seeing yellow leaves on a plant is usually a sign of trouble, but during the seedling stage, context is everything. From what I’ve learned, it’s completely normal for the first round cotyledon leaves to turn yellow and eventually fall off after a week or two.
This happens because the seedling has used up all the stored food in those “lunchbox” leaves and is now getting its food from the new roots and true leaves. So, if the little round leaves turn yellow while the rest of the plant looks green and healthy, my plan is to not panic.
However, if the true leaves – the serrated ones – start turning yellow, that’s a different story. That’s a sign that something is likely wrong with my process. It will be my cue to immediately go back and double-check my watering strategy, as overwatering is the most likely culprit.
The Next Step: Planning the Transplant
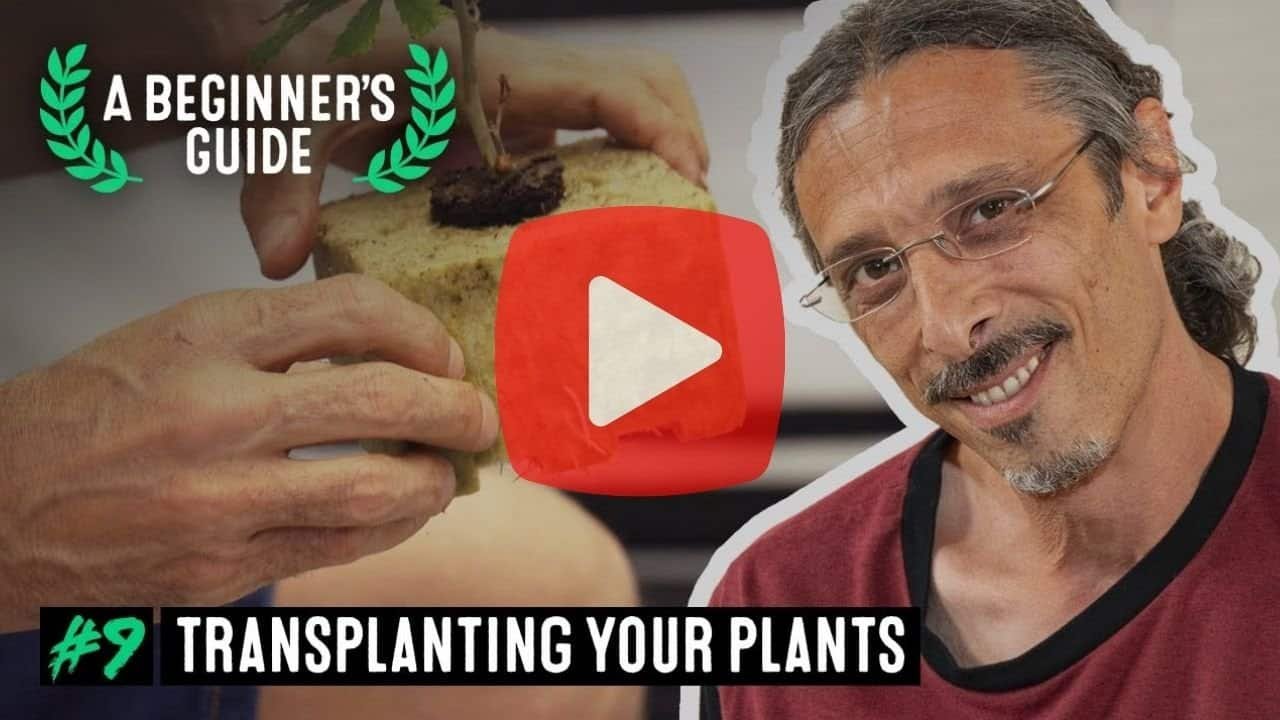
After surviving the first few weeks, the seedling will eventually need to move out of its small starter home and into a bigger space. This process, transplanting, seems like another potential moment of high anxiety. From my research, doing it at the right time is key to avoiding stress on the plant that could slow down its growth. Here’s the checklist I’ve built to know when the time is right.
The Checklist for When to Transplant a Cannabis Seedling
Timing this seems crucial. Transplant too early, and the fragile root system might fall apart during the move. Wait too long, and the plant can become “root-bound” in its small container, which stunts its growth. Here are the main signs I’ll be looking for:
- Leaf Growth: The plant has developed at least 3-4 sets of true leaves. This is a good sign that it’s mature and strong enough to handle the stress of moving.
- Leaf Overhang: The total width of the leaves is wider than the diameter of its starter cup or pot. This is a classic visual cue that the plant is getting bigger than its home.
- A Healthy Root System: This is the most important signal. I’ve learned that I should be able to gently lift the plant out of its container and see a well-formed bundle of white roots holding the soil together. If the soil just crumbles away, the plant needs more time to develop its roots.
Graduating to the Vegetative Stage: Preparing for What’s Next
Successfully performing this first transplant marks the official end of the cannabis seedling stage. The moment the plant is settled into its bigger home, it graduates to the vegetative stage.
This next phase is all about explosive growth. The plant will stop focusing on establishing its initial foundation and will start packing on size, growing lots of new leaves, and getting thick and bushy. It’s the “teenage” growth spurt of the cannabis life cycle.
Of course, that new stage comes with its own set of rules for light, water, and nutrients. That’s a whole other research project, which you can be sure I’ll be detailing in a future guide.
Cannabis Seedling Stage FAQ
Throughout my research, I kept having the same basic questions pop into my head. I’m putting the answers I found to the most common ones here for a quick reference.
What should a healthy 2-week-old cannabis seedling look like?
By the two-week mark, a healthy seedling should look like a proper miniature plant. It will have several sets of its iconic serrated “true leaves,” not just the initial round cotyledons. The stem should be green and sturdy, not overly long, thin, or pale (which is a sign of stretching for light).
How can you tell if a seedling is overwatered?
This is the big one.
The most common sign of an overwatered seedling isn’t just wet soil; it’s the leaves themselves. They will look droopy, heavy, and “waterlogged,” almost like they’re too full and are curling downwards from the weight.
In contrast, an underwatered (thirsty) plant’s leaves will also look droopy, but they will feel papery, flimsy, and light.
When is the cannabis seedling stage officially over?
The cannabis seedling stage is officially over when the plant has a strong root system and has grown about 3-4 sets of true leaves.
The true graduation ceremony is when you successfully transplant it into a bigger pot. At that point, congratulations – you’re in the vegetative stage!
So, that’s the complete game plan. It’s the result of all my late-night reading and my attempt to turn anxiety into a solid, actionable checklist for growing my own cannabis.
Is it perfect? I have no idea. The real test will be when I actually have a tiny seedling sitting in my grow space. But having this plan makes me feel a hundred times more prepared to face the challenge, and I hope it does for you, too. Ultimately, everything I’ve learned boils down to one thing: pay attention. The plant will tell us what it needs; our job is just to learn its language.
I’ll be documenting my own experience putting this plan into action, so be sure to follow the journey. We’ll see how well this research holds up in the real world.
Good luck with your grow – we’ve got this.