Growing Autoflowers: The Complete Beginner’s Guide from Seed to Harvest
So, you’re thinking about growing your own medicine. You’ve seen packets of autoflower seeds online, scrolled through countless forum posts, and now you have a browser history filled with confusing and often conflicting advice. If you’re staring at your screen wondering, “Okay… where do I even begin?” – then you are in the exact same place I am right now.
Let’s get one thing straight from the start: this isn’t a lecture from some master grower with a lab coat and a ten-thousand-dollar setup. I’m a patient, probably a lot like you, getting ready to start my very first grow. This guide is my pre-flight checklist. It’s the result of all my late-night research, my “what does that even mean?” moments, and my “aha!” discoveries, all organized into a single, straightforward plan. I’m sharing my research so we can start this journey with confidence.
Together, we’ll walk through everything I’ve learned about what we’ll need to know, from picking a light to the moment we’ll (hopefully) harvest our first bud. This is a complete, jargon-free guide designed to make our first autoflower grow feel achievable and, dare I say, fun. My goal is to create the resource I wish I had, so we can learn how to make this journey easy to cultvate.
Table of Contents
First Things First: What Makes Autoflowers a Game-Changer?
Before we even think about soil or grow lights, we need to wrap our heads around what makes these cannabis plants so special. When I first started my research, the terms “autoflower” and “photoperiod” were thrown around, and I just nodded along, pretending I understood. Let’s clear that up right now, because this one difference is the reason autoflowers are such a great choice for a new grower.
The Big Difference: Autoflowers vs. Photoperiod Cannabis Plants
Honestly, I had to Google the word “photoperiod” about fifteen times before it stuck. Here’s the simple version I wish I had from the start.
Most standard cannabis plants are “photoperiod” plants. Think of them like a bear that needs the days to get shorter to know it’s time to hibernate. Photoperiod plants need a change in their light cycle – specifically, a switch to 12 hours of darkness – to get the signal to stop growing leaves and start producing flower (the buds). As a grower, you are in complete control of when this happens, but you have to flip that switch yourself.
AutoFlowers are different. They get their name because they flower automatically. These auto plants have genetics from a type of wild cannabis called Ruderalis, which evolved in harsh northern climates with short summers. They don’t have time to wait for the seasons to change. Instead, this type of autoflower has a built-in genetic clock. After a set amount of time (usually 3-4 weeks), they will start to flower on their own, regardless of the light schedule. For us, this means we don’t need to change light cycles at all, which removes a major point of potential error.
The Real Deal: Pros and Cons for a New Grower
That internal clock sounds amazing, right? For the most part, it is. But as I’ve learned in my research, it comes with a trade-off. It’s important to know both sides before you decide to grow autos. Here’s the straightforward breakdown.
The Pros (Why they’re great for beginners):
- Speed: They are fast! The entire seed to harvest timeline can be as short as 8-10 weeks.
- Simplicity: No need to worry about changing light schedules. You can keep your light on for 18 hours a day from start to finish.
- Size: These auto plants tend to stay smaller and more compact, which is perfect for small tents or stealthy grows.
The Cons (What you need to watch out for):
- Sensitivity: That built-in clock is also their biggest weakness. Because they’re on a tight schedule, they have very little recovery time from stress. A big mistake like overwatering or a botched transplant early on can permanently stunt the plant, and it won’t have time to recover. This is the main downside to autoflowering seeds.
- Yield: Because of their smaller size and shorter life, they typically produce a smaller yield than a large, well-trained photoperiod plant.
Gearing Up: What You Actually Need to Start Growing
Alright, let’s talk about the gear. Full disclosure: when I first started researching this, my online shopping cart quickly soared past the price of a decent used car. It was intimidating. I saw all these complex gadgets, acronyms, and nutrient lines and nearly abandoned the whole project right then and there.
The good news? My research confirmed you do NOT need all that stuff, especially not for your first run. The goal is to get a successful harvest, not build a NASA command center. We can always upgrade later. Here’s the simple breakdown of the absolute must-haves for a basic growing indoors setup.
The Must-Have Equipment for Your Grow Space
Think of this as your plant’s own little studio apartment. You want to control the environment, and this is the easiest way to do it.
A Grow Tent: This is your dedicated grow space. A small tent, like a 2×2 or 3×3 foot model, is more than enough for one or two autgo plants. It keeps light in, keeps pests out, and makes managing temperature and humidity much easier.
A Quality Light: This is the single most important piece of your setup. Your cannabis plants eat light to live. You don’t have to break the bank, but my research shows a quality, beginner-friendly LED light is the best investment you can make.
Airflow (A Simple Fan): A small, clip-on fan is non-negotiable. It keeps air moving to prevent mold, helps manage heat from the light, and the gentle breeze strengthens your plant’s stems.
A Container: Don’t use a standard plastic pot. Get a 3 to 5-gallon fabric pot. They make it much harder to overwater your plant – a classic rookie mistake – because they allow the roots to breathe and the water to drain.
A Growing Medium: This is the “soil” your plant will live in. When you’re trying to figure out what to grow autoflowers in, look for a light, airy soil mix designed for autoflowering cannabis. Avoid heavy potting soils from the hardware store, as they can suffocate the roots.
Choosing Your Strain and Getting Quality Autoflower Seeds
Your gear is the theater, but the autoflower seeds are the star of the show. All the best equipment in the world can’t save bad genetics.
When you’re looking for anautoflower strain, don’t just pick one because it has a cool name (a mistake I almost made). For our first grow, we want an easy grow. Read the descriptions from the seed banks or breeders. Look for words like “resilient,” “forgiving,” “robust,” or “beginner-friendly.” Some autoflower strains are notoriously picky, and we want to set ourselves up for success. Choosing the right strain is a huge first step.
Make sure you get your autoflower cannabis seeds from a reputable breeder or seed bank. This is probably the most important part of the entire process, as good genetics will make everything that follows so much easier.
Your First Grow Shopping List: The Essentials
- Light: A beginner-friendly, full-spectrum LED light.
- Container: One or two 3-to-5-gallon fabric pots.
- Medium: A bag of light, airy soil mix for cannabis.
- Seeds: A beginner-friendly, resilient autoflower strain.
- Environment: A small grow tent (e.g., 2’x2′) and a clip-on fan.
The Autoflower Grow Guide: A Week-by-Week Journey
Alright, this is the main event. Here we’ll walk through the general timeline of what to expect as your plant grows. Remember, think of this as a friendly roadmap, not a rigid set of commands. Your auto is a living thing and will grow at its own pace. The dates are an estimate; the key is to watch your plant and see what it’s telling you.
Week 1: Germination and the Delicate Seedling Stage

Your journey officially begins the moment your seed gets wet. The most common advice I found for germinating is the paper towel method, and it’s what I’ll be using for my first time.
- Dampen a paper towel (not soaking wet).
- Place your autoflower seed on it.
- Fold the towel over the seed and place it in a Ziploc bag or between two plates to keep it dark and humid.
- Place it somewhere warm (around 70-80°F or 21-27°C).
- In 24-72 hours, you should see a tiny white root (a taproot) emerge.
Once that taproot is about a quarter-inch long, it’s time to plant. This is where I learned a critical lesson from my research: to avoid stress, you should plant your seeling directly into its final pot. Do not transplant an autoflower if you can help it. They don’t have time to recover from the shock.
“Learn With Me” Moment: My instinct with any new plant is to water it thoroughly. My research shows this is a huge mistake for a seedling. It’s like trying to make a baby chug a gallon of water. For the first week, just mist the soil around the seedling. It needs sips, not gulps. I nearly drowned my first houseplant with love; I’m determined not to make the same mistake now that I’ve started growing for real.
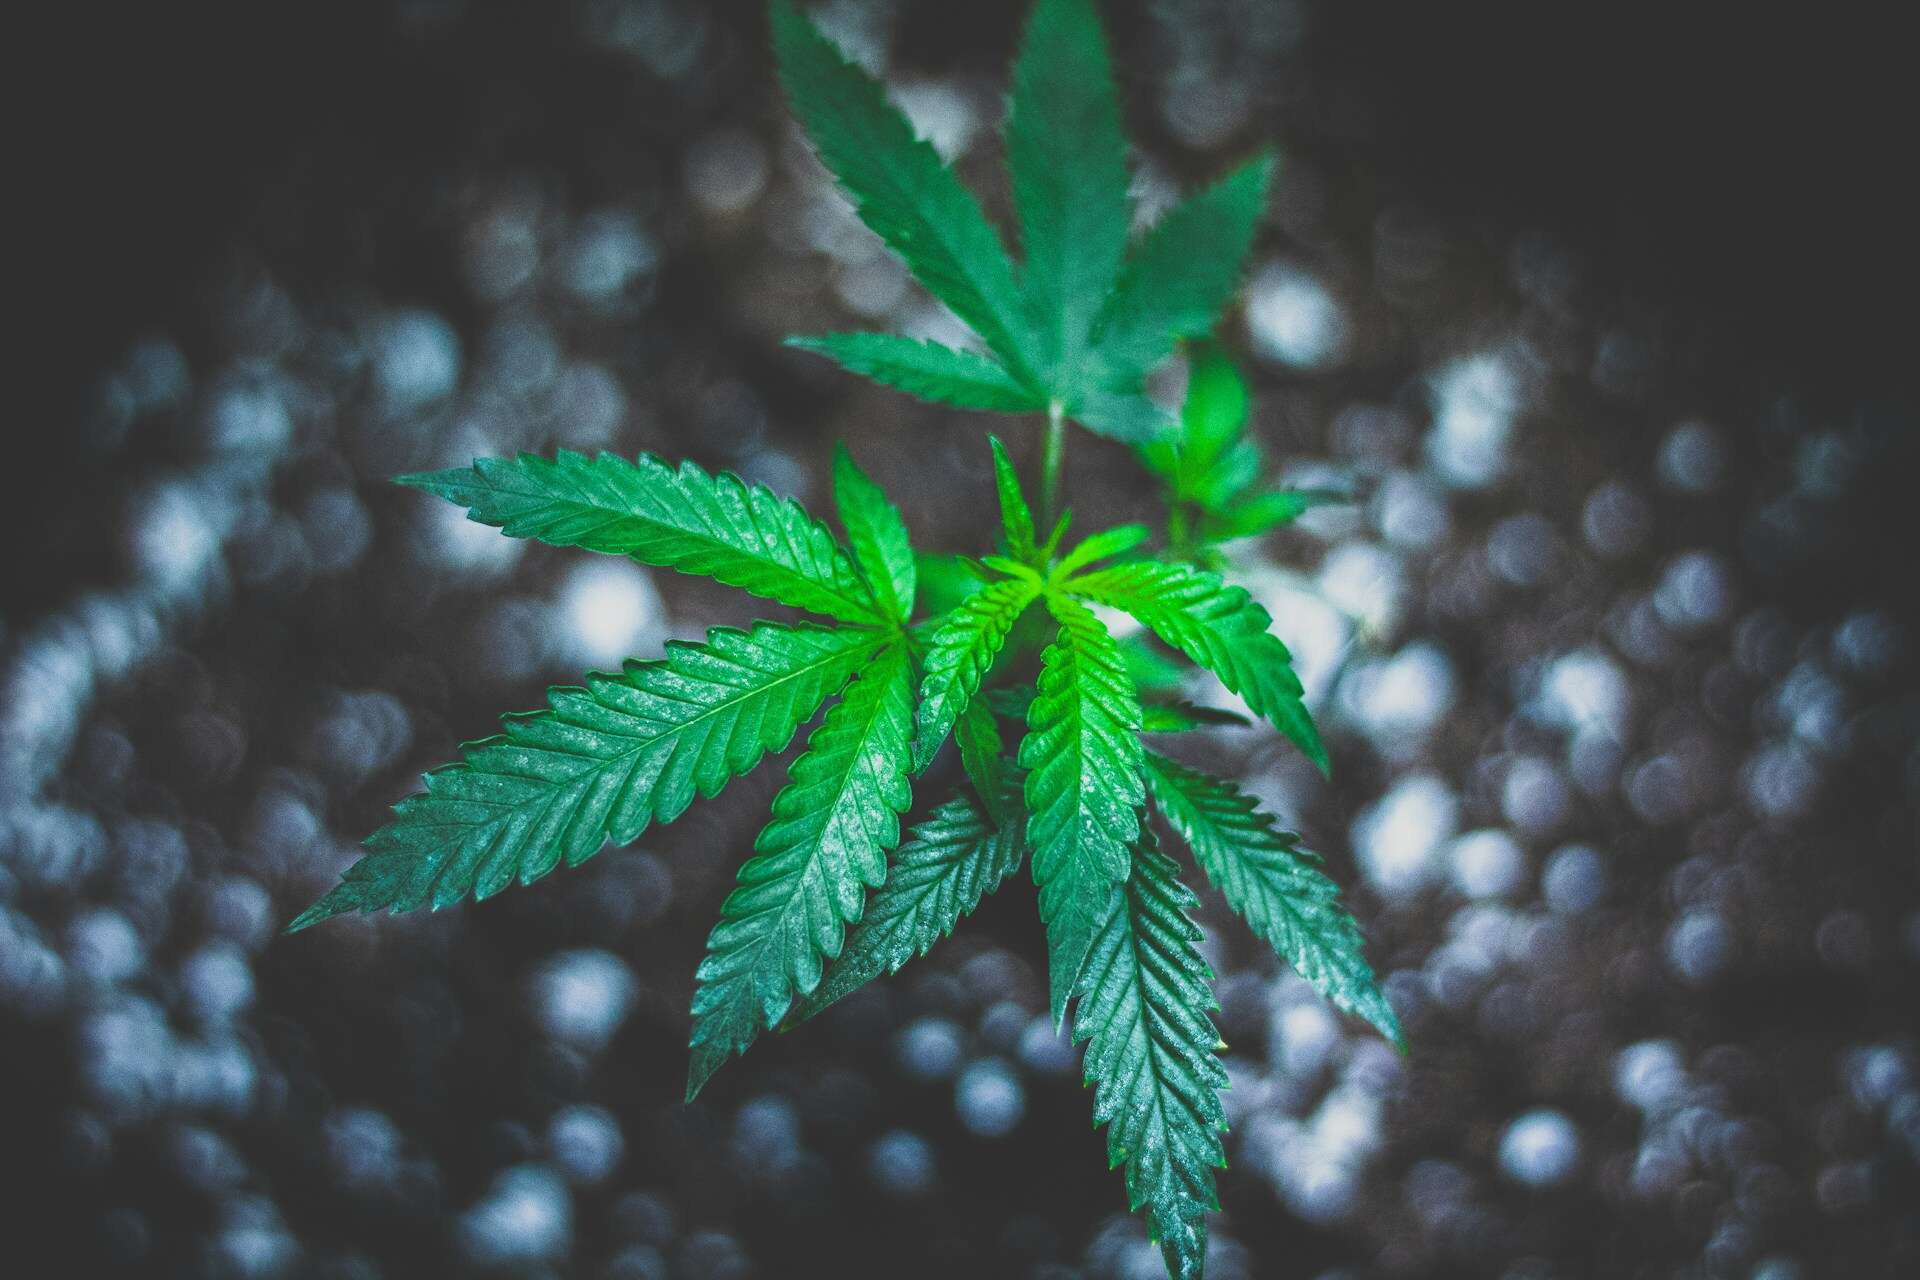
Weeks 2-4: The Vegetative Stage (When Your Plant Gets Bushy)
Welcome to the vegetative stage – a fancy term for when your plant is basically a leaf-making factory. During this veg phase, you’ll see explosive growth. Its only job is to get bigger and stronger before it starts to flower.
- Light: Keep your light on a consistent schedule. The most common recommendation is 18 hous of light and 6 hours of darkness (an 18/6 light schedule).
- Training (Optional): Around week 3, you can start some Low-Stress Training (LST). This just means gently bending the main stem and side branches down and tying them in place. The goal is to create a flat, even canopy so that morebud sites get direct light, which can lead to a better harvest. We’ll be trying this, very, very gently.
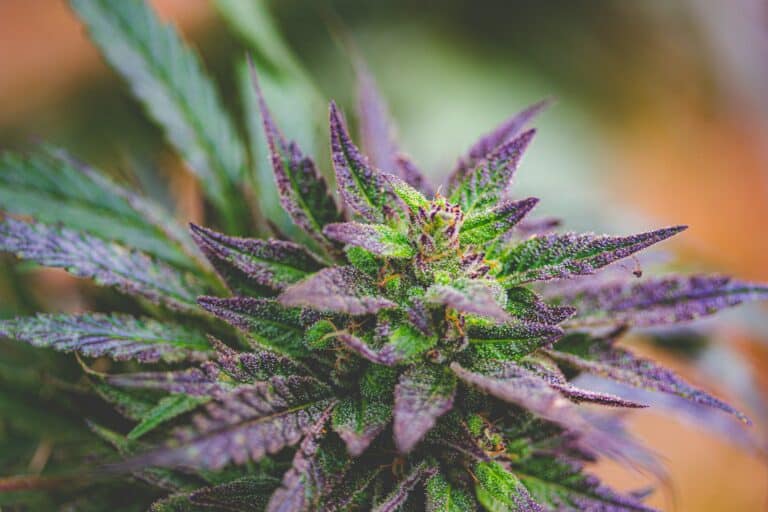
Weeks 5-8+: It’s Happening! The Flowering Stage
This is when the real magic begins. You’ll know your plant has hit the early flowering stage when you see tiny, white, hair-like strands emerging where the branches meet the stem. These are called pistils, and they are the very first signs of a bud.
Soon after, your plant will have a big growth spurt called the “flowering stretch,” where it might double in size. It’s now shifting all its energy from growing leaves to producing flower. You’ll notice the but sites start to get bigger and more defined each day through week 5, week 6, and beyond. This is also when the plant will start to get hungry for a different kind of nutrient to support all that bud production.
The Final Countdown: Watching Trichomes and Preparing for Harvest
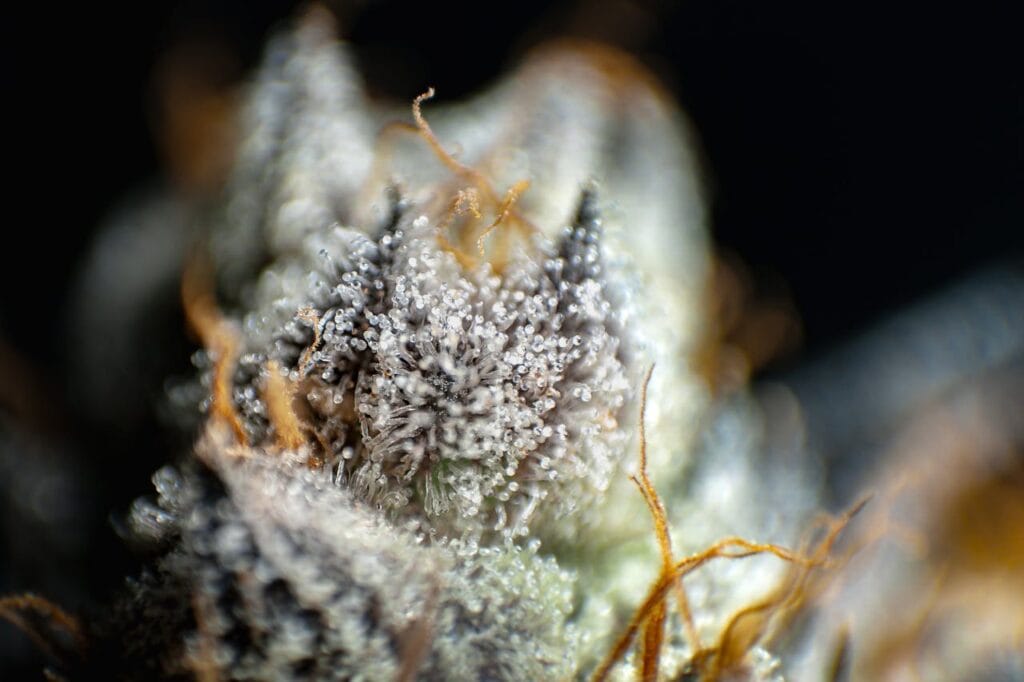
As your buds fatten up, you’ll see they’re covered in what looks like a dusting of sugar. These are trichomes, and they are the key to knowing the time to harvest. You’ll need a cheap jeweler’s loupe or a digital microscope to see them up close.
- Clear Trichomes: Your plant is not ready. Be patient.
- Milky/Cloudy Trichomes: This is the peak for THC content. Most people harvest now.
- Amber Trichomes: The THC is beginning to degrade into other cannabinoids, which can lead to a more relaxing or sleepy effect.
Many growers will “flush” their plants for a week or two before harvest, which just means giving them plain water with no nutrients. It’s a debated topic, but the goal is to get a smoother final product. Based on my research, this is another area where we’ll just have to try it and see.
Critical Autoflower Care: Getting the Big Things Right
Beyond the week-by-week stages, your main job as a grower is to provide a stable and happy environment for your plant. Based on all my reading, success boils down to getting a few key things right consistently. Mastering these fundamentals is what separates a frustrating experience from a successful harvest.
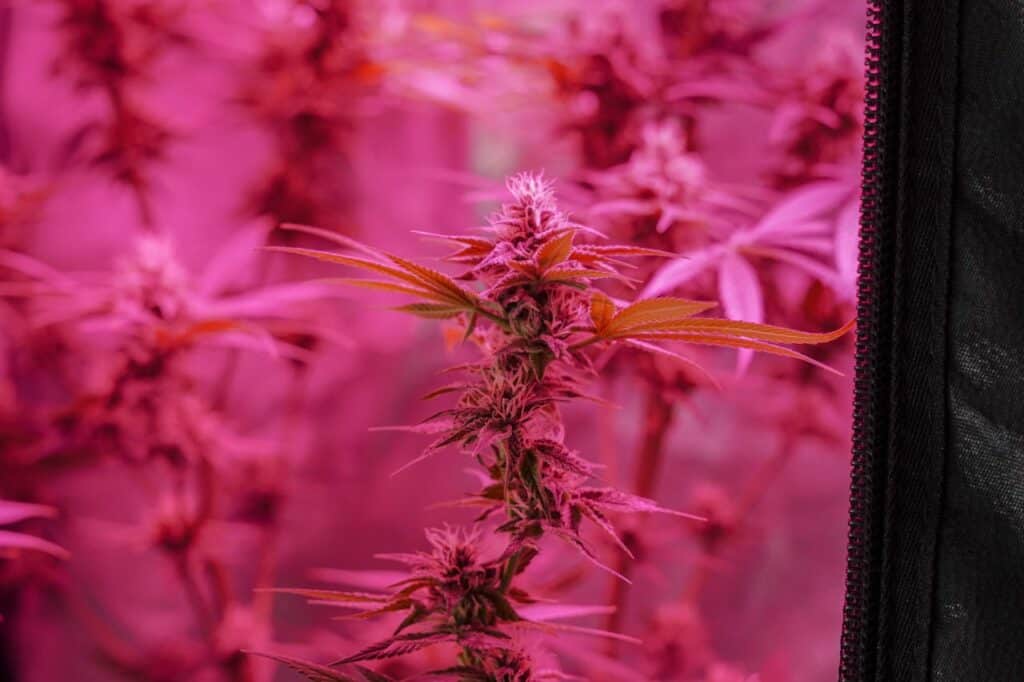
The Best Light Schedule for Autoflowers
We’ve touched on this, but let’s lock it in because it’s the easiest part to get right. The most recommended and reliable light schedule for autoflowers is 18 hours of light on, 6 hours of light off (18/6).
You set your timer once and leave it for the entire life of the plant. That’s it.
Why not 24 hours of light? While some growers do provide 24 hours of light, the consensus I’ve found among many experienced growers is that giving the plant a 6-hour “rest” period allows it to carry out important biological processes. Plus, it gives your equipment (and your electricity bill) a break. For a first grow, 18/6 is the safe, proven, and effective way to go.
Feeding and Watering Without the Guesswork
If there’s one area I’m most nervous about – and where most beginners make mistakes – it’s this one. The universal mantra I’ve seen everywhere is: less is more.
Watering: An overwatered autoflower is an unhappy autoflower. Don’t water on a fixed schedule. Water when the plant needs it. How do you know?
- The Lift Test: Get used to the weight of your pot when the soil is dry versus when it’s freshly watered. When the pot feels light as a feather, it’s time to water.
- The Finger Test: Stick your finger into the soil up to your first knuckle. If it feels dry, it’s time to water. If it feels damp, wait another day.
Feeding: Good news! Most quality soil mixes have enough nutrients to get your plant through the first 3-4 weeks without any extra help. When you do start feeding, follow the “start low and go slow” rule. Use only ¼ to ½ of the recommended dose on the nutrient bottle. Your plant will show you signs of nutrient deficiencies (like yellowing leaves) if it’s hungry. It’s always easier to add more nutrients later than it is to fix a plant that’s been burned by too much nutrient.
Avoiding Common Problems: Pests, Mold, and Stress
An ounce of prevention is worth a pound of cure, especially with autoflowers that don’t have time to recover.
- Stress is the Enemy: I’m going to say it one more time because it’s that important: do not transplant your autoflower. The amount of stress it causes can stunt the plant for good. This also applies to high-stress training methods like topping. Stick to gentle, low-stress training.
- Airflow is Your Friend: That little clip-on fan does more than you think. Good air circulation is essential to reduce the risk of mold and mildew, especially as the buds get dense and humidity becomes a bigger issue in the flowering stage.
- Keep it Clean: A clean grow space is a happy grow space. Keeping your tent tidy helps prevent pests from making a home in your setup.
Your Top “Growing Autoflowers” Questions Answered (FAQ)
As I fell down the research rabbit hole for this project, I had a million questions. My browser tabs were a mess. It seems like for every answer you find, three new questions pop up. This section is my attempt to organize the most common questions I’ve had and seen online, all in one straightforward place.
How long do autoflowers take from seed to harvest seed to harvest?
Generally, most autoflowers take between 8 to 12 weeks from the day you plant the seed to the day you harvest. However, always check the information from the breeder for the specific strain you’re growing, as some can be faster or slower.
Do autoflowers grow faster than photoperiod plants?
Yes, in terms of the total time from start to finish, autoflowers are significantly faster. This speed comes from a much shorter vegetative stage, which is also why they are less forgiving of mistakes.
Why is my autoflower growing so slow?
This is a common worry. If your plant seems stunted, my research points to a few usual suspects:
– Overwatering: Especially in the seedling stage, this is the #1 growth-killer.
– Cold Temperatures: Cannabis plants like to be warm (70-85°F or 21-29°C).
– Not Enough Light: A weak or distant light will slow down growth.
– Bad Genetics: Sometimes, you just get a dud seed. It happens.
What is the best light schedule for autoflowers?
As we covered earlier, the gold standard is 18 hours on, 6 hours off (18/6). It provides plenty of energy for vigorous growth while still giving the plant a rest period.
Can autoflowers grow in a 12/12 light cycle?
Yes, they can, because they flower based on age, not light. However, it’s not ideal. Providing only 12 hours of light instead of 18 means you are giving your plant 33% less energy each day. Less energy means slower growth and a smaller final harvest.
Can you grow autoflowers outside?
Absolutely! Autoflowers are a fantastic choice for an outdoor grow, especially in places with a short growing season. Because they finish so quickly, you can often get a full harvest in before the weather turns cold and rainy.
Should I remove fan leaves from my autoflower?
This is a hot topic called “defoliation.” For a first-time grower, the safest advice is to be extremely cautious. The plant uses its fan leaves as solar panels to create energy. The best practice for beginners is to only remove leaves that are clearly yellow and dying on their own, or perhaps a single large leaf that is directly blocking a major bud site from getting any light. When in doubt, leave it on.
What is the best grow method for autoflowers?
The best method for a beginner is the simplest and most forgiving one: growing in a quality soil mix inside a fabric pot. This method provides a buffer for mistakes with watering and nutrients that other methods (like hydroponics) do not.
What is the downside to autoflowering seeds?
To put it simply, it’s their sensitivity to stress. As we’ve mentioned, their short, pre-programmed lifespan is their greatest strength and greatest weakness. There is no recovery time for major mistakes like stunting them early on, which is why a gentle, consistent approach is so important.
You’re Ready to Grow Your Own Medicine
We’ve covered a lot of ground – from the mystery of photoperiod vs. auto to lights, soil, and the lifecycle of the plant. If you’ve read this far, I hope the idea of growing autoflowers feels a lot less intimidating and a lot more achievable. This entire process is about taking it one step at a time, being patient, and learning as you go.
Key Takeaways for Your First Successful Grow
If this whole guide could be boiled down to a few core principles, these would be them. This is the cheat sheet I’ll have taped to my own grow tent when I begin.
- Start with Great Genetics: A successful grow begins with quality autoflower seeds from a reputable source. You can’t outgrow bad genetics.
- Avoid Stress at All Costs: Plant your seed in its final home. Do not transplant. Be gentle with any training. An autoflowers’s life is a sprint, not a marathon, and it doesn’t have time to stop and rest.
- Go Easy on Food and Water: You can always add more, but you can’t take it away. Let the pot get light before watering, and start with a very low dose of any nutrient.
- Watch and Listen Daily: Your plant will show you what it needs. Spend a few minutes with it every day. You’ll be surprised how quickly you learn to read its language.
- Trust the Process (and Don’t Panic!): Leaves will droop. Some might yellow. It’s a living plant, not a plastic machine. Patience is your most important tool.
The Journey is the Reward
As I get ready to plant my own first seed, I know my first harvest probably won’t win any awards. It might not be massive, and the buds might not be perfect. But it will be mine.
I’ll know exactly what went into it. I’ll have nurtured it from a tiny seed into medicine. For me, that feeling of empowerment and self-sufficiency – of finally growing your own cannabis – is the real prize. This is why we’re “Patient Growers” – it’s not just about waiting for the flower to be ready; it’s about being patient with the plant, and more importantly, with ourselves as we learn.
I hope all this research helps you feel ready to start. Welcome to the journey. You’ve got this.