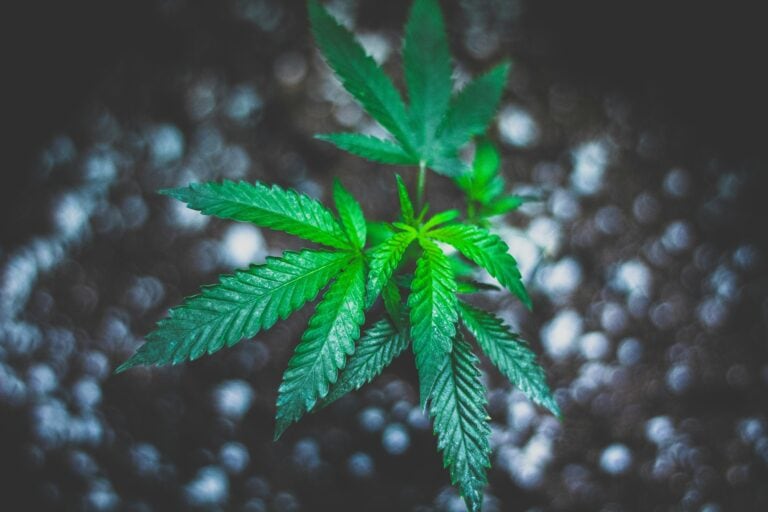
How to Germinate Cannabis Seeds: 3 Easy Methods for Beginners
There’s a special kind of excitement that comes with holding your first cannabis seeds. All the potential of a future plant is right there in the palm of your hand. But if you’re anything like me, that excitement is probably mixed with a healthy dose of nerves. After all the research into strains and equipment for growing cannabis, it all comes down to this first, critical step: getting that seed to sprout.
The good news is that the germination process doesn’t have to be complicated. I fell down the research rabbit hole to figure out how to germinate cannabis seeds and sifted through all the expert jargon to find what actually works for beginners. In this guide, I’m going to walk you through three of the easiest and most popular methods to germinate your seeds successfully. I’ll cover everything from the classic paper towel method to planting directly in soil, outlining the simple steps for each germination method.
Table of Contents
First, What Exactly is Cannabis Seed Germination?
Before diving into the “how,” I felt it was important to understand the “what.” Simply put, cannabis seed germination is the process where a dormant cannabis seed “wakes up” and begins to grow. When the conditions are just right, the seed cracks open and sends out its first little root. This initial root is called the taproot, and it’s the anchor for your entire future cannabis plant. Getting this part right is what gives your plant the best start in life.
So, what makes a seed decide it’s time to germinate? Through my reading, I learned that for seeds to germinate successfully, they’re looking for three specific signals from their environment. It’s my job as the grower to provide them. These three magic ingredients are:
- Moisture: This tells the seed to soften its shell and activate its internal growth engine.
- Warmth: A cozy, consistent temperature signals that it’s a safe time to sprout.
- Darkness: This lets the seed know it’s in a safe, dark place underground, where roots are supposed to form.
When you provide all three of these, you’re creating the perfect environment to germinate seeds.
Every method I’m about to show you is simply a way of delivering this same combination of warmth, moisture, and darkness, which are the foundational principles of seed germination for many plants.
Method 1: The Paper Towel Method (The Community Favorite)
If you spend any time on growing forums, you’ll see the paper towel method mentioned constantly. It seems to be the go-to way to germinate seeds for a huge portion of the cannabis community. It’s reliable, the materials are cheap, and best of all, you get a front-row seat to the magic. It’s like being able to check on your soufflé without it deflating. To use the paper towel method is to have full control.
What You’ll Need for the Paper Towel Method
You probably already have everything you need. No fancy lab equipment required.
- Cannabis Seeds: The stars of the show, whether they are feminized or regular.
- Paper Towels: A durable brand is best. You don’t want these turning to mush around your precious seeds.
- Two Plates or a Ziploc-style Plastic Bag: This will create your mini-germination chamber.
- Spray Bottle with Water: Lukewarm water helps you moisten things perfectly without creating a flood.
A Step-by-Step Guide to Germinate Cannabis Seeds Using the Paper Towel Method
- Get Things Moist: Take two pieces of paper towel and lightly spray them. You’re aiming for a damp paper towel, not sopping wet. It should feel moist but not soaked.
- Place the Seeds: Gently place the seed on one of the moist paper towels. Leave about an inch of space between each one.
- Cover Them Up: Take your second moist paper towel and lay it on top.
- Create a Dark Place: Slide your paper towel sandwich onto one plate, then use the second plate to cover it. If using the plastic bag method, just slide the folded paper towel inside and seal the bag about halfway.
- Find a Warm Spot: Put your little seed-incubator in a consistently warm, dark spot. Now, the hardest part: waiting.
- Check Daily: Once a day, take a peek. Make sure the paper towels are still moist and check for action. Within 2-5 days, you should see a tiny white tap root poking out.
Pros & Cons of this Germination Method
- Pros: The germination rate is very high. It’s also incredibly satisfying to see the taproot emerge, so you know your seed is viable before you move to soil.
- Cons: That brand-new root is ridiculously delicate. You have to handle it like a priceless artifact when you transplant it.
Method 2: The Cup of Water Method (The Simplest Start)
If the first method felt like too much arts and crafts, you’ll love this one. This is for when you want to soak your seeds and see what happens. I was skeptical of just dropping seeds in a cup of water, but it’s a legitimate technique, especially for older seeds that could use a good soak.
What You’ll Need
- Cannabis Seeds: Or even marijuana seeds, if you prefer that term.
- A Glass or Cup: Anything clean that holds water.
- Water: Lukewarm water is key.
Step-by-Step Guide for Soaking Seeds in Water
- Fill ‘er Up: Fill your cup of water about halfway.
- Drop ’em In: Gently drop your seeds in.
- Go to the Dark Side: Place the cup in a warm, dark cupboard.
- The Waiting Game (and the Warning): You only want to soak these for about 24-48 hours. Any longer, and you risk drowning them. As soon as you see that root, they are ready to be transferred.
Pros & Cons
- Pros: It doesn’t get any easier. An excellent way to rehydrate stubborn seeds.
- Cons: The biggest risk is forgetting about them. You also have to be just as careful when you transplant the delicate, waterlogged seed.
Method 3: Planting Directly in Soil (The Natural Approach)
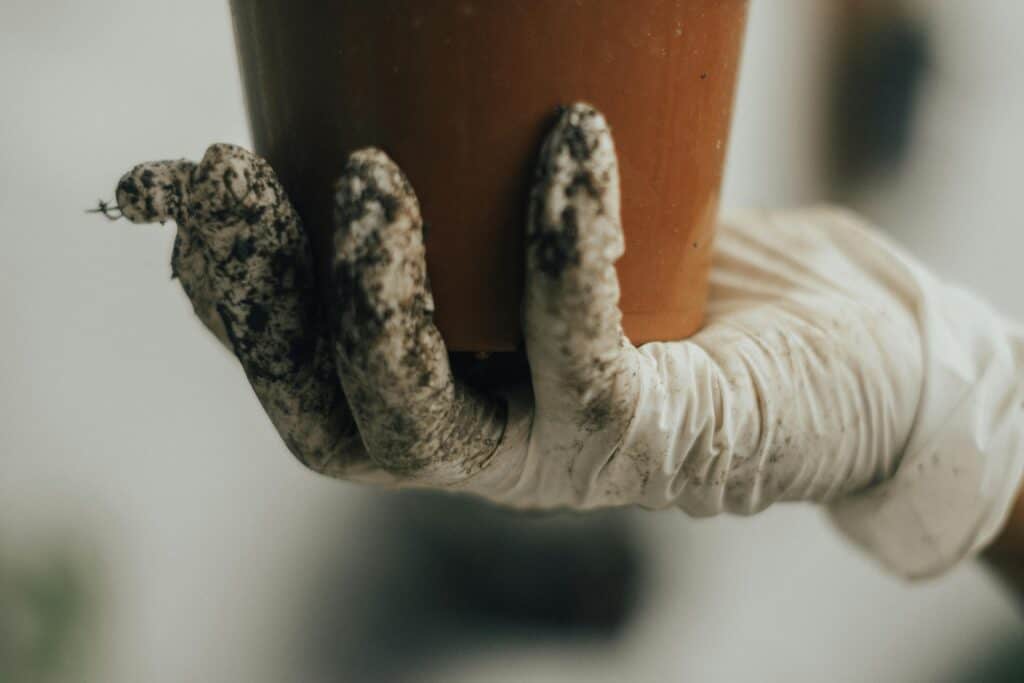
This method mimics how plants have grown forever. The best part is avoiding the stress of the transplant step entirely.
What You’ll Need for Direct Soil Germination
- Cannabis Seeds: The main event.
- Your Growing Medium: This is what your plant grows in. It could be seedling soil, coco coir, or peat.
- A Starter Pot: Small soil pots, Jiffy pucks, or Rockwool cubes work well.
- Water: A spray bottle helps you keep the soil perfectly moist.
A Step-by-Step Guide
- Prepare the Bed: Moisten your growing medium so it’s damp all the way through.
- Poke a Hole: Make a small hole about half an inch deep.
- Tuck the Seed In: Put the seeds in the hole and lightly cover them. Don’t pack the soil! The little seedling needs to push its way out.
- The Great Wait: Place the pot in a warm spot. A seedling heat mat is a great tool for this. You just have to have faith and keep it moist.
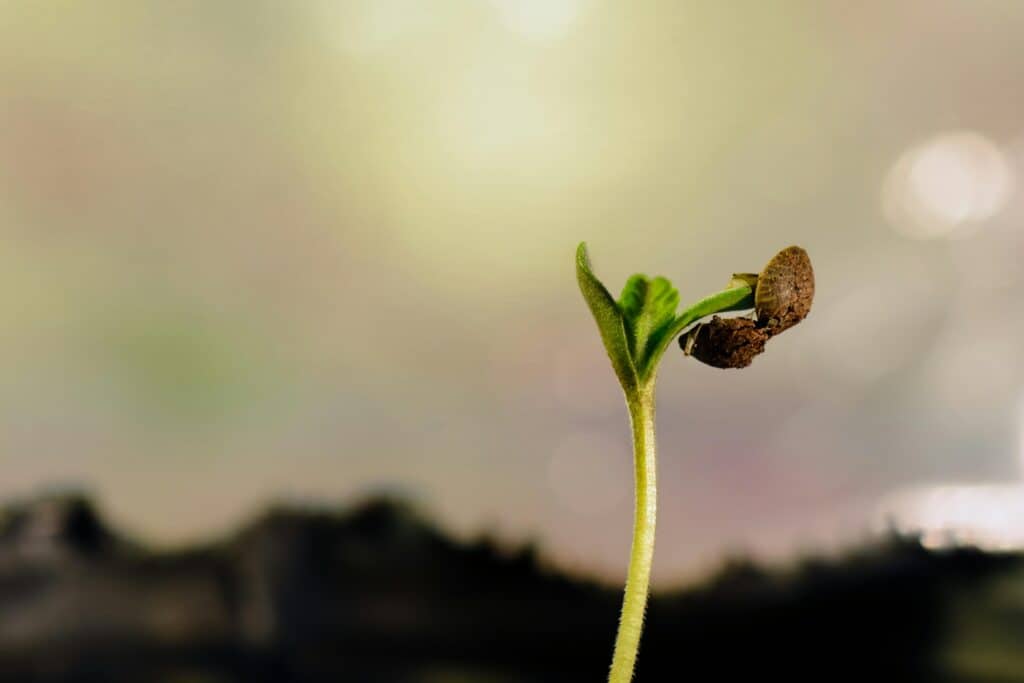
- The Grand Entrance: In about 4 to 7 days, you should see a tiny seedling sprout from the soil.
Pros & Cons
- Pros: Zero transplant shock. It’s a very natural way to germinate.
- Cons: You’re flying blind. You can’t see if germination has occurred until the seedling appears. It’s also easier to mess up the watering.
Your Seed Has Sprouted! What to Do After Germination
Seeing that little white taproot emerge is a moment of pure victory! You successfully completed germination. After a quick victory dance, the next step is transplanting your new seedling. If you planted directly in soil, you can feel smug; your work is done. For the rest of us, it’s time for delicate surgery.
Here’s how to move to soil without breaking that root:
- Prepare a New Home: Get your starter pot and growing medium ready. Moisten it and poke a small hole in the center.
- Handle with Extreme Care: The taproot is incredibly fragile. Use clean tweezers to gently pick up the sprouted seed by its shell. Do not touch the taproot!
- Plant It (The Right Way Up): Gently lower the seed into the hole, taproot pointing down.
- Tuck It In: Lightly cover the seed.
Once planted, your seedling now needs a light source. A simple windowsill is perfect for its first few days.
A Beginner’s FAQ (All the Questions I Googled at 2 AM)
As I went through this process, I had a million questions. Here are the answers I found to the most common ones.
How long does this whole germination thing take?
Patience is a grower’s best friend. Most seeds germinate in 2-7 days, but some stubborn marijuana seeds can take up to 10-14 days.
Help! My seed isn’t sprouting. Is it a dud?
First, don’t panic! It’s usually one of a few things: temperature is too cold, moisture levels are off, or sometimes, you just get a non-viable cannabis seed. It happens to every grower.
How can I tell if a cannabis seed is good before I start?
A healthy, mature cannabis seed is typically dark and hard. If a seed is pale green or white and crushes easily, it probably won’t germinate.
Okay, for real: which germination method is the best?
The paper towel method often has the highest germination rate, but the “best” method is the one you’re comfortable with. Don’t be afraid to experiment to find your preferred way to germinate.
Your Growing Journey Begins
And there you have it—three ways to tackle germination. Whether you choose the paper towel method, the simple cup of water, or planting directly in soil, you have a roadmap to get that seed to sprout.
When I started, the idea to germinate cannabis seeds felt like a huge hurdle. But what I learned is that these seeds want to grow. Our job is just to give them a decent shot. Don’t be afraid to make mistakes. Every seasoned grower was once a complete beginner, and every grow is a chance to learn.
Now the fun part is your turn. I’d love to hear which method you’re planning to try. Drop a comment below and let’s learn together. Good luck!