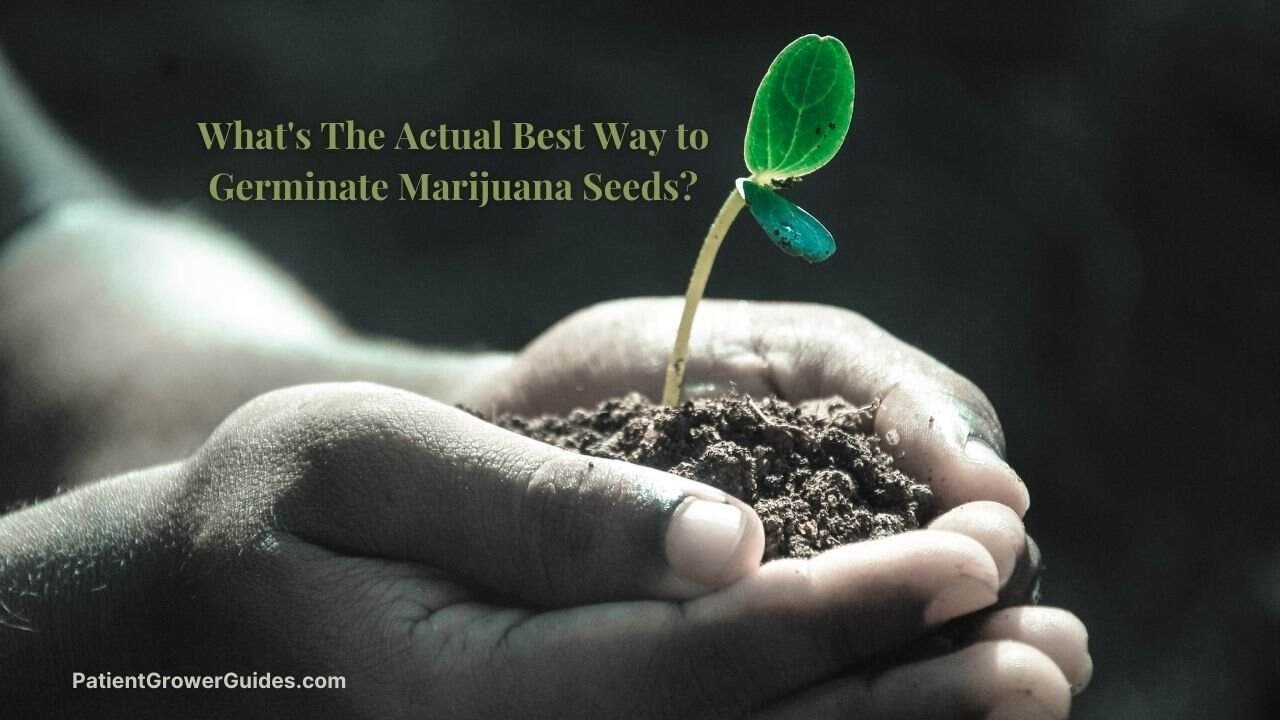
What’s the Actual Best Way to Germinate Marijuana Seeds? A Beginner’s Guide.
So, you’re ready to start growing your own medicine. That’s an awesome first step. The second step, if you’re anything like me, probably involved typing the “best way to germinate marijuana seeds” into a search bar and immediately getting hit with a tidal wave of conflicting information.
When I first started researching how to germinate seeds, I felt like I was studying for a final exam I’d never pass. One modern website says to do it one way, while a forum post from 2008 swears by a method that sounds completely opposite. Honestly, it was just… a lot. I didn’t want to mess up before I even really started, and all I really wanted was a simple, reliable germination method that wouldn’t require me to buy a bunch of expensive gear.
After sorting through all that noise, I’m confident I’ve found it.
This guide is here to cut through all that confusion. We’re going to focus on one single way to germinate your cannabis seeds that is consistently praised for its high success rate and simplicity, especially for first-time growers: the classic paper towel method. Let’s get this journey started on the right foot, together.
Table of Contents
Why the Paper Towel Method Is The Best Way to Germinate Marijuana Seeds For New Growers
Okay, so why am I planting my flag so firmly on this specific method? When I was trying to decide on the best start for a complete beginner, my research kept pointing back to three simple reasons why the paper towel method is the undisputed champion for anyone new to cannabis cultivation.
You Get to See The Magic Happen (Visual Confirmation)
Let’s be honest, staring at a pot of soil for a week is nerve-wracking. You’re constantly wondering: Did I plant the seed too deep? Is the soil too wet? Is anything even happening in there? It’s a recipe for anxiety.
The pure genius of the paper towel method is that it removes all the mystery. You can physically lift the top plate and see your cannabis seeds pop. Witnessing that first tiny white taproot poke out of the seed shell is a huge moment – it’s the first sign of life! For a new grower, that visual proof that you’re doing something right is a massive confidence booster before you even think about soil or grow lights.
It’s Cheap, Easy, and Uses Household Stuff
When I first started pricing out everything needed for growing cannabis, my shopping cart got expensive, fast. I was worried that seed germination would be another thing requiring a special “germination station” or a pricey heat mat.
This is where the paper towel method really shines. It costs literally nothing. You need a few things that are almost certainly in your kitchen right now: two plates, some paper towels, and a bit of water. That’s it. You don’t have to spend a single extra dime to get your seeds to sprout, making it the perfect, no-risk way to kick things off.
It Isolates the First, Most Crucial Step of Germination
Learning any new skill can feel like trying to drink from a fire hose, and growing is no different. The biggest advantage of this germination method is that it lets you focus on one single, critical task: getting a viable seedling.
You don’t have to worry yet if your growing medium has the right drainage or if your watering technique is on point. Your only job is to create a damp, dark space for the seed. If the seed pops, you know you have a healthy sprout. If it fails, you can be pretty sure the problem was with the seed itself or the immediate germination environment – not one of the ten other things that could go wrong in soil. It simplifies the process and lets you tackle the journey one successful step at a time.
Key Takeaways: Why Use Paper Towels?
- Visual Proof: You get to see the moment your seed sprouts, which is a huge confidence booster. No guessing required!
- Zero Cost: This method uses simple household items you already have, so you can start without spending any money.
- Simple Focus: It allows you to master the first crucial step of germination without worrying about soil, watering, or other variables yet.
Your Step-by-Step Guide: Using the Paper Towel Method
Alright, now for the fun part. I’ve broken down the entire process into four simple steps. My goal was to find a process that was straightforward and hard to mess up, and this is it. Here’s exactly how to get your cannabis seeds to sprout.
Step 1: Gathering Your Supplies (What You’ll Actually Need)
No need for a bunch of fancy equipment. You just need to grab four basic things from around your house:
- Your Cannabis Seeds: The stars of the show, of course.
- Paper Towels: A little tip I picked up from my research – try to use a decent quality, absorbent brand. The super-cheap ones can sometimes fall apart when they get too wet, creating a mess that can stick to the delicate new root.
- Two Ceramic Plates: Any two plates of the same size will work perfectly.
- Water: A spray bottle is ideal for this, but you can make it work without one. Regular tap water is generally fine.
Step 2: Prepping Your Paper Towels and Placing the Seed
Take two sheets of your paper towel and get them damp with water. The most important word here is damp, not soaking wet. They should feel like a well-wrung-out sponge. If you can easily squeeze water out of them, they’re too wet, which can end up suffocating the seed.
Lay the damp paper towel flat on one of the plates. Gently place the seed (or seeds) on top, making sure to leave at least an inch of space between each one. This ensures their new roots won’t get tangled up. To finish, place another two sheets of moist paper towels over the top of the seeds, covering them completely.
Step 3: Creating a Warm, Dark Germination Station
Now, take your second plate and place it upside down over the first one, creating a clamshell or dome. This little setup traps the humidity and blocks out all light, creating the perfect environment for germination to begin.
All you need to do now is find a good home for your germination station. You’re looking for a warm dark area with a relatively stable temperature. You don’t need to get crazy with a thermometer, just use a common-sense spot. Places like the top of a refrigerator (which gives off a little warmth) or inside a kitchen cupboard are classic go-to locations.
Step 4: The Waiting Game (And How Not to Mess It Up)
This might be the hardest step of all: being patient. Your seeds will germinate on their own time. You might see a sprout in as little as 24 hours, but some seeds take 3-5 days, and occasionally even longer.
Here is the single most important piece of advice for this step: leave them alone. Fight the urge to peek every five hours!
Every time you open the plates, you let out the humidity and warmth that your seeds need. Your best bet is to check on them just once a day to make sure the paper towels are still damp. If they feel like they’re starting to dry out, give them a light spritz with your spray bottle. Otherwise, just trust the process, and don’t touch the seeds themselves while you wait for the magic to happen.
Success! Your Seed Has Sprouted, Now What?
You did your daily check, and there it is – a little white tail poking out of your seed! Congratulations, you’ve officially succeeded at germination. It’s a great feeling, right?
Now comes the part that, according to my research, feels like the most nerve-wracking moment for every new grower: moving that tiny, fragile seedling to its first home. Don’t worry. We’ll walk through it carefully.
Identifying a Healthy Taproot
When you check your paper towels, you should see a single, creamy white root emerging from the cracked seed shell. This is the taproot, the primary root that will anchor your entire plant and seek out water.
The trick is to move it at just the right time. You’re looking for the tap root to be about a quarter-inch to a half-inch long (roughly 1-2 cm). If it’s much shorter, it might not be vigorous enough to establish itself in the soil. If you let it get too long, it risks getting tangled in the paper towel and becomes much harder to handle without breaking. That quarter-to-half-inch window is the sweet spot.
The Big Moment: Transplanting Your Sprouted Seed
Okay, time for the most delicate operation of the whole process. That little white taproot is incredibly fragile.
The absolute number one rule is: do not touch the root with your bare fingers. The oils and germs on your skin can easily damage or contaminate it.
First, prepare your final growing medium. Whether it’s a soil pot or a starter cube, make a small hole about a half-inch deep for the new seedling.
Next, using a pair of clean tweezers (or just being extremely careful), gently pick up the sprouted seed by its shell casing. Carefully place the seed into the hole you made, ensuring the taproot is pointing downwards. This part is crucial – the root naturally wants to grow down into the medium to find water.
Once the seedling is in place, lightly cover it with a small amount of your growing medium. Don’t pack the soil down! A light, loose covering is all it needs to protect it.
And that’s it. You’ve officially graduated from germination and transplanted your first seedling. Nicely done.
What If Something Goes Wrong?
Let’s talk about something every single grower deals with sooner or later: a failed germination. You followed all the steps, you were patient, you checked on your seeds, and… nothing. A week goes by and still no taproot. It’s frustrating, but don’t give up on the whole project. Let’s cover the most common reasons this might happen.
“My Seeds Don’t Sprout! What Did I Do?”
First off, take a breath. It happens to even the most experienced growers. From all the research I’ve done, when seeds don’t germinate, the problem usually falls into one of three camps:
- The Moisture Problem: This is the most common issue. The paper towels have to stay consistently damp. If they dried out completely, even for a few hours, it can stop the germination process in its tracks. On the flip side, if the towels were soaking wet and sitting in a puddle of water, the seed likely suffocated from a lack of oxygen.
- The Temperature Problem: Cannabis seeds need warmth to signal that it’s time to wake up and sprout. If you placed your germination setup in a particularly cold spot, like a chilly basement floor or a drafty windowsill, it may simply be too cold for the magic to happen.
- The Seed Itself: This is a big one that’s easy to overlook. Sometimes, the failure has nothing to do with your process at all. Not every seed is guaranteed to be viable. If the seeds were old or stored improperly before they got to you, they might just be duds. This is why many growers suggest starting one or two more seeds than you actually plan to grow, just as a backup.
Curious About Other Germination Methods?
While I’m convinced the paper towel method is the best way to start for a new grower, it’s certainly not the only way to germinate seeds. In my research, two other popular germination methods came up over and over again: soaking seeds in water before planting, and planting them directly into soil from the very beginning.
Both methods have their own fans and their own pros and cons. My goal for this guide was to choose the single most foolproof option for a beginner to get that first critical win.
If you’re interested in exploring those other techniques, I’ve already compiled all my research and notes on them. You can find everything in my complete guide to germination methods right here: How to Germinate Cannabis Seeds: 3 Easy Methods for Beginners.
Answering Your Top Questions (FAQ)
As I’ve been digging through all this information, a few of the same questions kept popping up. Here are the clear, straightforward answers I’ve found that should help clear up any lingering confusion.
Is it better to germinate seeds in soil or a paper towel for a beginner?
Based on all my research, for a complete beginner, the paper towel method is the better option.
Being able to see the seed physically sprout before you plant it is a huge advantage. It confirms your seed is viable and builds your confidence.
While planting directly in soil is a great method used by many growers, it involves a lot of guesswork that can be stressful when you’re just starting out.
How long should you germinate marijuana seeds with paper towels?
This is all about patience.
While you might get lucky and see a sprout in just 24 hours, the most common timeframe is anywhere from 3 to 5 days. Don’t panic if it takes a bit longer; some seeds, especially older ones, can take a week or more to pop.
As long as your paper towels stay damp and warm, you’re giving them their best shot.
Should you germinate cannabis seeds in the dark?
Yes, 100%. Darkness is a key environmental trigger for a seed. It signals to the seed that it’s safely buried underground, which encourages it to send out its taproot to search for water and nutrients.
Exposing a germinating seed to direct light can confuse and hinder this natural process, which is why using the two plates to create a dark chamber is such a critical step.